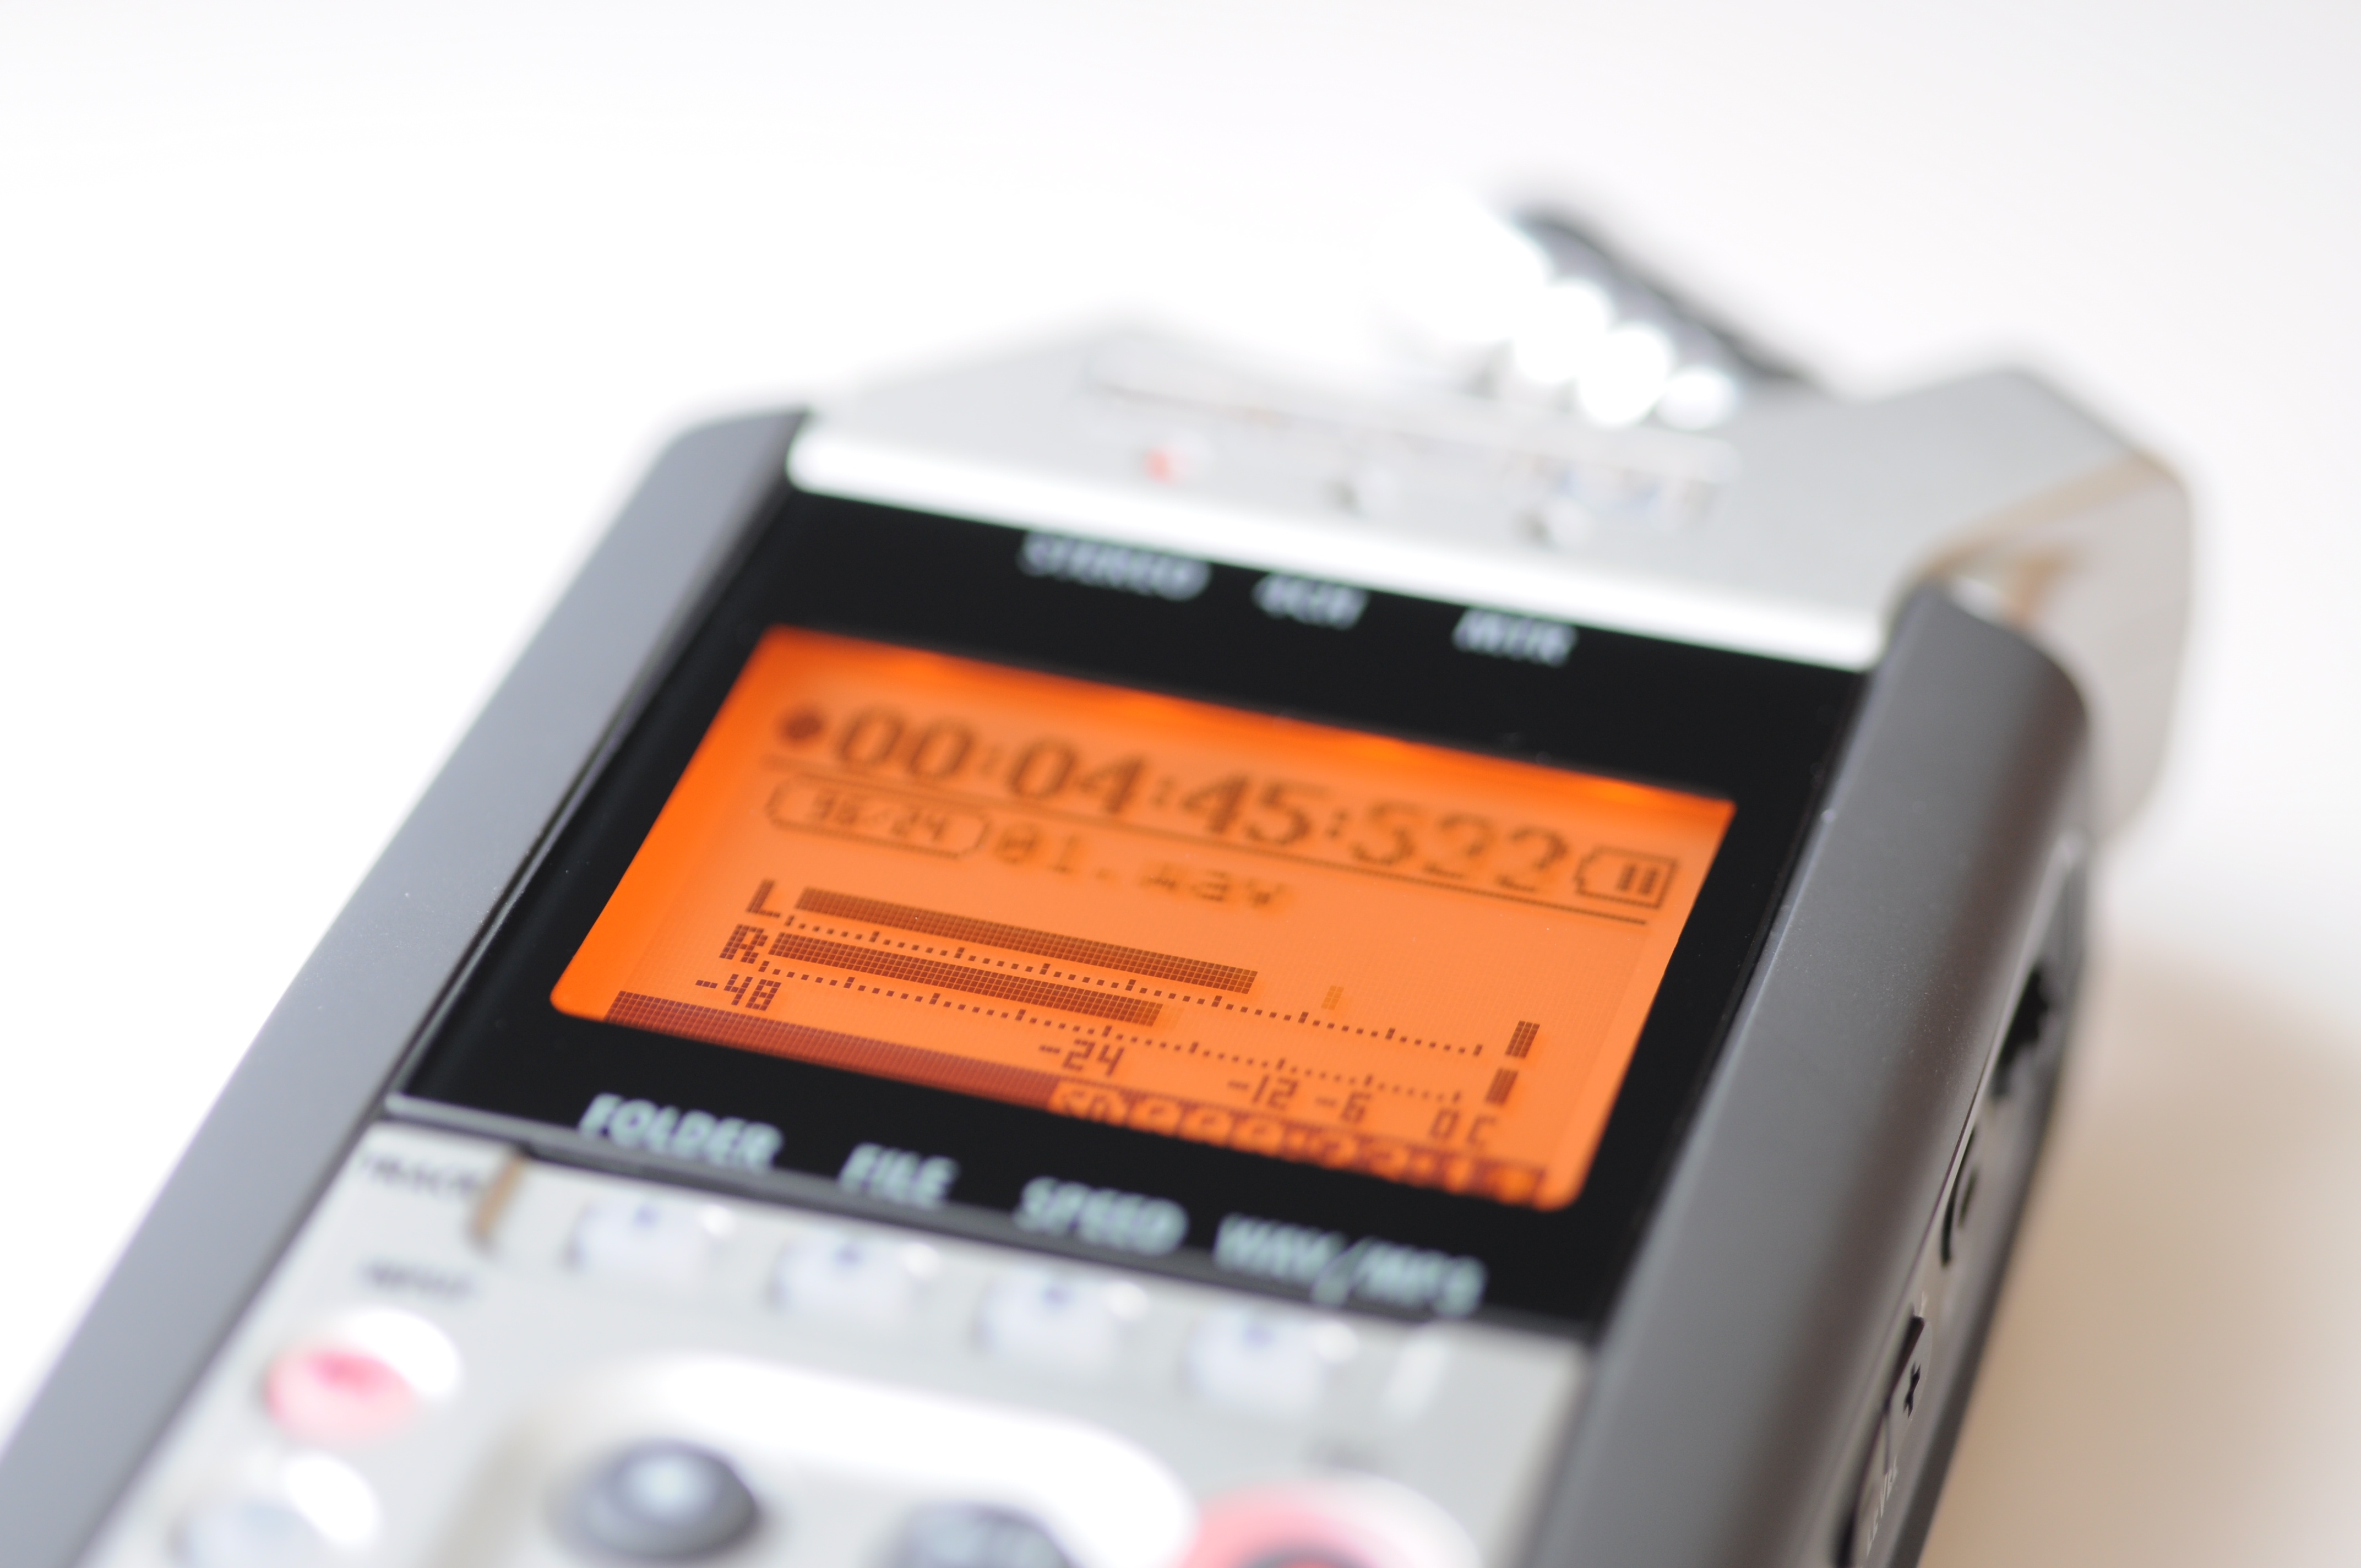
“File:Zoom H4n audio recording levels.jpg” by LivingShadow is licensed under CC BY-SA 3.0.
The eye draws us outwards while the ear draws us inwards. – Robert Bresson
Goal
- Understand and use common audio research, planning, preparation, and recording tools and techniques for film sound
Zoom Audio Deck Settings
- Interface
- Stereo Microphones
- Mode Indicator LED
- Shortcut Buttons
- Input Select
- Transport Control
- Record
- SD Card
- Microphone Inputs
- Headphone Port
- Output Port
- Settings
- Phantom Power
- Power for condenser microphones at 48v (dynamic microphones like the Shure SM58 do not need phantom power)
- Mono Mix
- Only one audio channel is mixed into two channels, the same sound is on each channel
- Record Format
- WAV96kHz/24bit – highest quality
- WAV44.1/16bit – CD quality, good for longer recording sessions
- File Name Format
- Use the DATE option (example: 170131-001.wav)
- Helps keep files organized
- Battery Options
- Alkaline/Lithium
- Ni-MH (only used for rechargeable batteries)
- Our blue Eneloop batteries, more info
- Recording Modes
- Stereo
- Left and right recorded stereo audio
- 4 Channel
- 4-channel recording simultaneously
- Watch this tutorial: Zoom H4n Tutorial Review 4 Channel Recording with 2 stereo WAV files
- MTR
- Multitrack mode
- Watch this tutorial: Zoom H4n: MTR mode and Overdubbing
- Stereo
- Record Levels
- Adjust the loudest level to -6dB (DO NOT PEAK IN THE RED)
- -6 gives headroom for the recording
- Headroom
- Safety zone allowing transient audio peaks, loud parts, to exceed the nominal level without damaging the system or the audio signal, e.g., via clipping
- Nominal Level
- The operating level at which an electronic signal processing device is designed to operate
- Clipping
- Waveform distortion occurs when an amplifier is overdriven and attempts to deliver an output voltage or current beyond its maximum capability
- Phantom Power
Zoom Audio Deck Tutorial
- : Rode NTG2 Shotgun Mic Overview
- 7:18: XLR Audio Cable
- 7:35: Zoom H4n Buttons, Inputs, and Outputs Overview
- 9:00: Front Screen Overview
- 9:45: Bottom XLR, 1/4 inch, and Power Inputs
- 10:05: Menu Details
- 10:15: Folder Settings
- 10:21: File Settings
- 10:32: Input Settings
- 11:30: Record Settings
- 12:05: System
- 12:09: Battery
- Alkaline and Lithium batteries use the same setting
- Ni-MH are rechargeable batteries
- Only set this setting if you are using rechargeable batteries!
- Watch more about this from –
- 12:09: Battery
- 12:43: SD Card – Formatting
- 12:50: USB – Connecting to Computer
- 12:51: Mode – Stereo, 4 Channel, MTR
- 13:03: Plug in Microphone
- 13:42: How to Operate Zoom with Microphone Plugged in
- 17:49: Downloading Audio to a Computer
- 18:29: Setting up a Boom Pole
- 19:49: Cable Management
- 21:03: Batman Demo Recording
- 21:18: Get Your Frame
- Get the mic just out of the frame, but as close to the mouth as possible
- Hold the mic above the talent, if possible
- 21:18: Get Your Frame
- 22:33 Set your recording levels by having the talent practice the loudest lines
Setting for Our OMF Files
- Create a folder to save all the files into
- Title the OMF file something simple
- Set Sample rate: 48,000
- Set Bits per sample: 16
- Set Files: Separate Audio
- Set Format: Broadcast Wave
Product
- Blog post with embedded video from YouTube of the various audio techniques demonstrated and explained
Examples
- Coming soon…
Steps
- Watch Top 10 Best Sound Designed Films of All Time – CineFix (14:30)
- Watch Microphones & Audio Syncing Tutorial – Indy News from 2:00 into the clip (5:26)
- Create blog post titled, Audio Deck Operation and Control
- Create headings for:
- Summary
- Sound Design for Film Notes
- Zoom Audio Deck Settings
- Zoom Audio Deck Tutorial
- Timeline
- Pre-production
- Production
- Post-production
- Film (Project Skills Evidence)
- What I Learned and Problems I Solved
- Create headings for:
- Copy and paste all the material for the Zoom Audio Deck Settings and Zoom Audio Deck Tutorial into your blog post
- Watch Filmmaking 101 – How to Record High Quality Audio on a Budget by DiCasaFilm (25:15)
- Embed video and Watch Music & Sound Design for Film – Film Riot 1st half of the clip (up to 5:45 minutes) and take notes about under the Sound Design For Film Notes heading
- Embed video and Watch Export OMF from Adobe Premiere Pro CC and take notes about under the Sound Design For Film Notes heading
- Watch and practice How To Properly Roll Cable by Randy Coppinger (1:03)
- Watch some of the other tutorials linked in the Resources section below to better prepare for your specific audio recording needs
- Get a copy of the Zoom H4n Audio Deck Settings Form (PDF)
- Fill in with your settings for all audio projects
- Write a script that includes a shot reverse shot script with 5 lines for each actor
- The lines shot be easy to ADR, which will be done in post-production
- The point of the film is to demonstrate what you have learned about basic audio recording and operations as a reference for yourself in your blog
- Storyboard each shot
- Block each shot
- Pitch storyboards
- Revise storyboards
- Create the shot list for the project
- Create an equipment list
- Practice each shot, update the script, as needed
- Gather equipment; audio deck, microphone(s), camera, lens, lights, bounce, diffuser, etc.
- Create a shot log
- Shoot each scene
- Catalog shots
- Edit shots in Adobe Premiere
- Export OMF files from Premiere
- Settings
- Create a folder to save all the files into
- Title the OMF file something simple
- Sample rate: 48,000
- Bits per sample: 16
- Files: Separate Audio
- Format: Broadcast Wave
- Settings
- Import files into Adobe Audition
- Edit in Adobe Audition
- Import finish sound back into Premiere
- Export in the highest resolution possible
- Upload to YouTube
- Embed under the Project Skills Evidence heading
- Write the Summary
- Write What I Learned and Problems I Solved
- Have someone proofread your blog post, make corrections, and additions, and hand in your feedback form
Tools
- Zoom H4n
- Rode NTG 2 Microphone
- XLR cable
- Closed-back headphones
- Canon Digital Rebel SLR camera
- Various focal length lenses: 18-55mm lens, 55-250mm zoom telephoto lens, 50mm prime lens
- GarageBand (Mac)
- iMovie (Mac)
- YouTube Video for online editing
- Adobe Premiere for automatic audio syncing and advanced video editing
- How to Auto Sync Audio with Video in Adobe Premiere Pro CC by Premiere Gal
Resources
https://capitalcomtech.info/2015/11/10/le-duc-sound-safari-team-roles/

You must be logged in to post a comment.